Most home routers silently accumulate connected devices over months and years - smart TVs, old phones, a neighbor’s laptop that briefly joined your Wi-Fi, IoT gadgets you forgot you owned. Running a deliberate audit of what’s actually on your network takes under an hour and requires no specialized hardware.
Why Unknown Devices Are a Real Problem
When an unauthorized device connects to your network, it shares the same local subnet as your computers, NAS drives, and smart home controllers. In most home router configurations, devices on the same network can communicate with each other without restriction. That means a compromised device - or one that simply doesn’t belong to you - can scan your other devices, attempt to exploit unpatched services, or intercept unencrypted local traffic.
The more concerning scenario is a persistent intruder. If someone has your Wi-Fi password, they can reconnect repeatedly, often going unnoticed because most home routers don’t alert on new connections. A device that appears briefly at 2 a.m. and then disappears won’t show up in casual observation, but it will show up in a proper audit.
Many IoT devices compound this problem by running outdated firmware with known vulnerabilities. A Shodan search for exposed home routers and cameras returns millions of results, which illustrates how many devices are misconfigured or forgotten. Once a device is on your network, its security posture becomes your problem, regardless of who owns it.
Auditing serves two purposes: identifying devices that shouldn’t be there, and building an accurate inventory of what should be there, so future anomalies become obvious.
Step One: Pull the Device List From Your Router
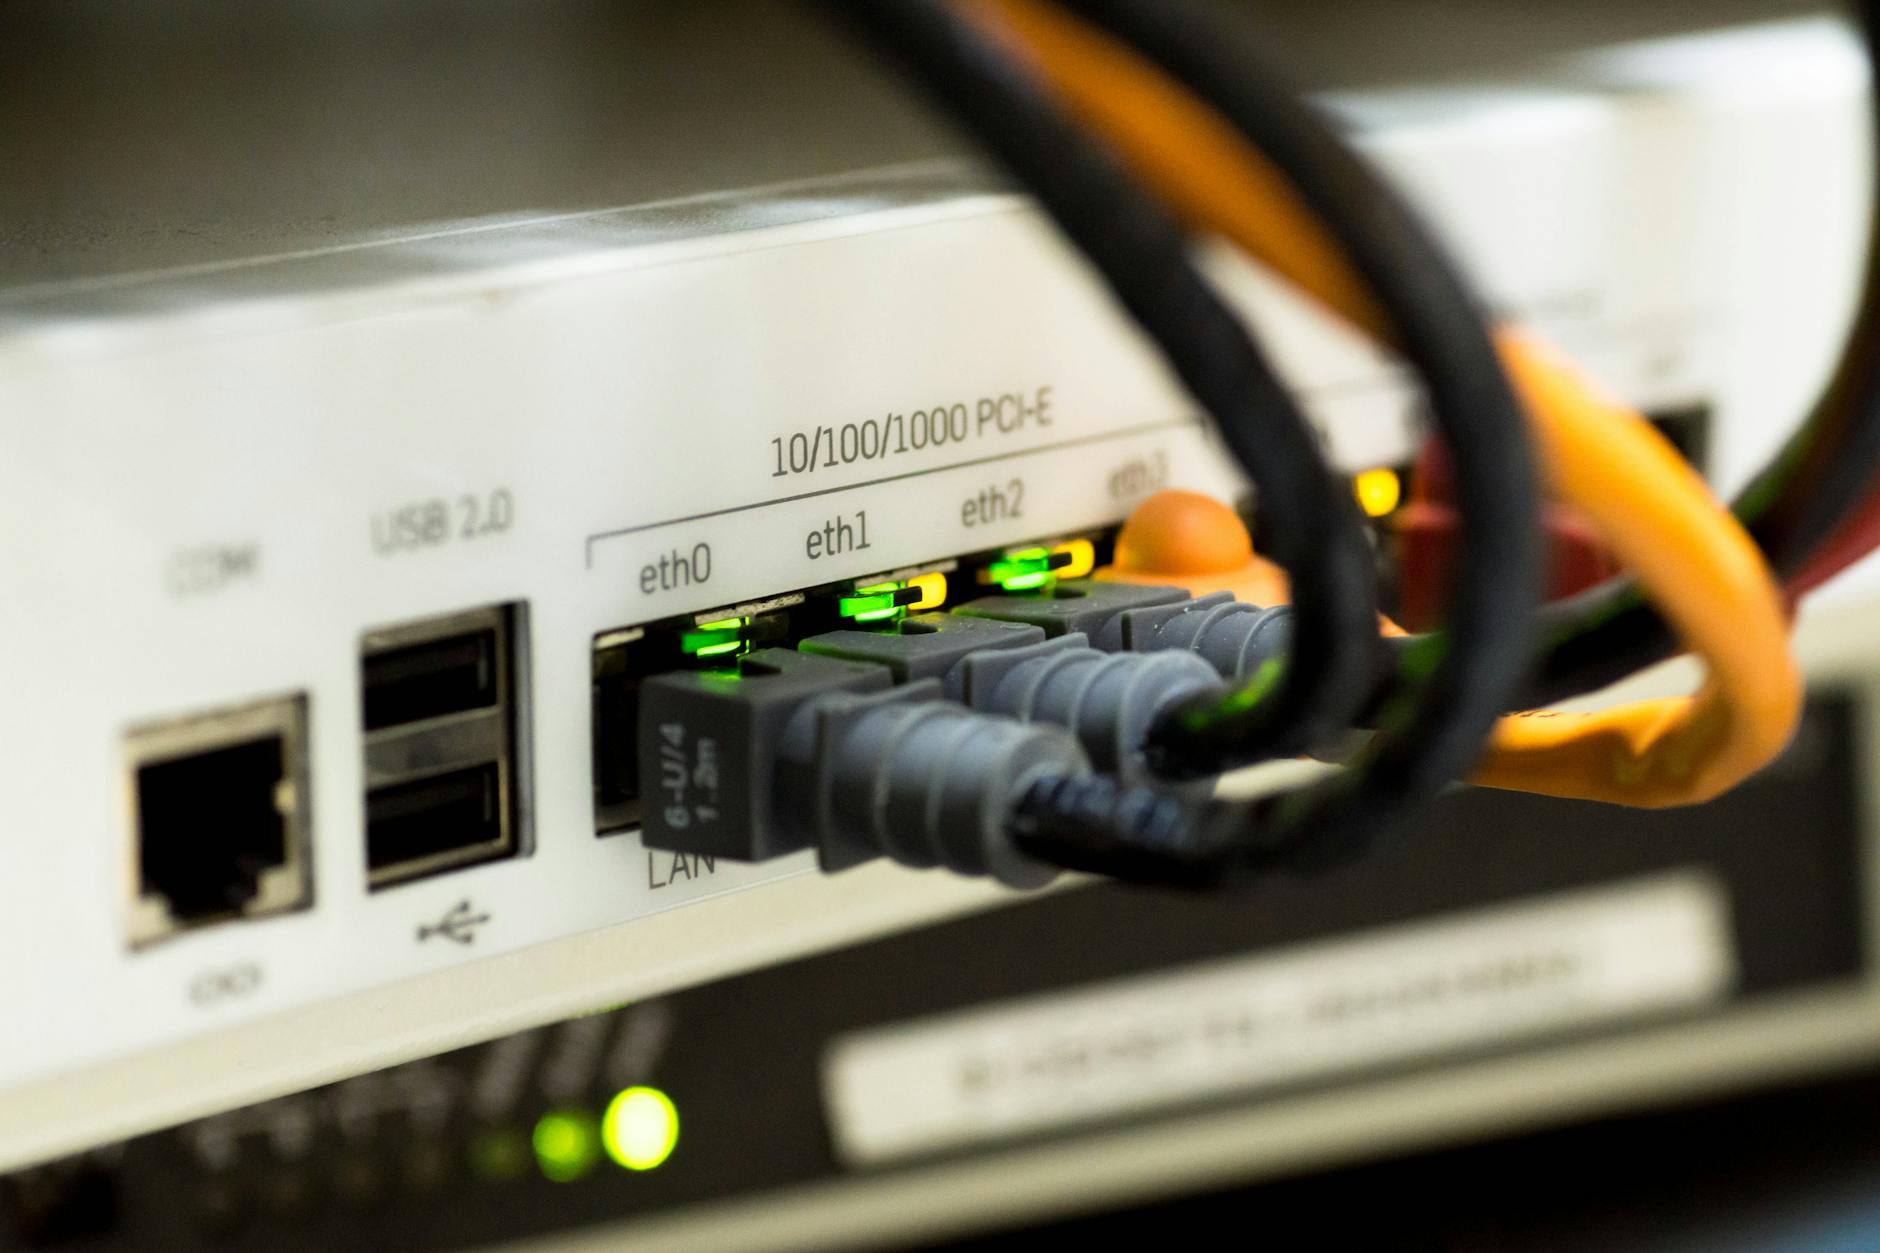
The first and simplest approach is checking your router’s admin interface. Open a browser and navigate to your router’s gateway address, typically 192.168.1.1 or 192.168.0.1. You can confirm your specific gateway by running ipconfig on Windows or ip route on Linux/macOS and looking for the “default” route. Log in with your admin credentials - if you’ve never changed them, check the label on the router, and change them immediately after this audit.
Most router interfaces have a section labeled “Connected Devices,” “DHCP Clients,” or “LAN Clients.” This list shows every device that has received an IP address from your router’s DHCP server. Note the IP address, MAC address, and hostname for each entry. The hostname is often the most readable identifier - it might say “JOHNS-IPHONE” or “AMAZON-ECHO” - but hostnames are user-controlled and can be spoofed, so treat them as hints rather than proof.
One limitation of the router’s list: it typically only shows currently connected or recently connected devices. Devices that connected weeks ago and have since left won’t appear unless your router logs DHCP leases historically, which most consumer models don’t do.
Step Two: Scan the Network Yourself
For a more complete picture, use Nmap, an open-source network scanner available for Windows, macOS, and Linux. A basic host discovery scan uses the command nmap -sn 192.168.1.0/24, substituting your actual subnet. This sends ICMP echo requests and ARP probes to every address in the range and reports which ones respond. The -sn flag skips port scanning, so the operation is quick and low-traffic.
Nmap’s output includes the IP and MAC address of each responding host, and often a vendor name derived from the first three octets of the MAC address (the OUI prefix). Seeing “Espressif Inc.” suggests an ESP8266-based IoT device; “Apple, Inc.” narrows it to an Apple product. This isn’t infallible - MAC addresses can be randomized, and modern Android and iOS devices randomize their MAC by default per network - but it provides useful context.
For a graphical alternative, Angry IP Scanner offers a similar host discovery capability with a point-and-click interface. On macOS, the app LanScan provides a quick local network scan with vendor lookup built in. These tools are legitimate network administration utilities, not hacking tools, and using them on your own network is entirely legal and appropriate.
Cross-reference the results from your router’s DHCP list and your Nmap scan. Anything that appears in the Nmap scan but not the DHCP list might be using a static IP address, which is unusual for most consumer devices and worth investigating further.
Step Three: Identify and Verify Every Device
Once you have a full list, go through it systematically. For each entry, try to match it to a physical device you own. Check the MAC address against the label on the device itself - most routers, phones, laptops, and smart home gadgets print the MAC address on a sticker on the bottom or back panel. If you can physically match every device on the list to something in your home, your network is clean.
For devices you can’t identify by hostname or MAC vendor, try connecting to them directly. If the IP address resolves to a web interface, opening it in a browser may reveal what it is. Many smart TVs, printers, and NAS devices run simple HTTP servers that display a device name or admin panel. An SSH or Telnet prompt narrows the field to network appliances or Linux-based devices.
Pay particular attention to devices with randomized MACs. iOS devices since iOS 14 use a randomized MAC address per Wi-Fi network by default, so your iPhone will appear with a random MAC rather than the one printed on the phone. You can disable this per-network in iOS under Wi-Fi settings to make auditing easier. Android has had a similar feature since Android 10.
If you find a device you genuinely cannot identify after cross-referencing MAC vendors, hostnames, and web interfaces, the appropriate response is to change your Wi-Fi password immediately, which forces all devices to re-authenticate. Watch which devices reconnect - any that reconnect without your intervention are devices whose passwords you’ve already entered. Any that don’t reconnect were either a forgotten device of yours, or something that shouldn’t have been there.
Step Four: Harden Against Future Intrusions
After completing the audit, a few configuration changes will make unauthorized access harder to sustain. Enable MAC address filtering on your router - it’s not a strong security control since MACs can be spoofed, but it adds friction. More effective is switching to WPA3 encryption if your router supports it; WPA3’s Simultaneous Authentication of Equals (SAE) handshake resists the offline dictionary attacks that make WPA2 passwords crackable from a captured handshake.
Create a separate guest network for IoT devices and visitors. Most modern routers support this through their admin interface. Placing smart speakers, thermostats, and cameras on a guest network that can’t communicate with your primary LAN significantly reduces the damage any one of those devices can do if compromised. The guest network should use a different password from your primary network.
Finally, set a recurring reminder to run this audit every three to six months. Networks change as you add devices, and habits like giving your Wi-Fi password to temporary visitors can leave connections that outlast the visit. The Nmap scan and router check together take less time than running a dishwasher cycle.
A detail worth noting: the IEEE maintains the public OUI registry at regauth.ieee.org, which lets you look up any MAC address prefix and identify the manufacturer. If you encounter an unfamiliar vendor name in your scan output, that registry is the authoritative source to check.